
Step 1: Install
Open the Mac OS X Snow Leopard folder on the CD, then double click “Install”.
When the installation has finished, restart your Mac.
Step 2: Plug in BearExtender
Connect the USB cable directly to a USB port on the side or back of your Mac.
Do not plug BearExtender into a low power USB port on the keyboard or into a USB hub.
Step 3: Click Network Preferences
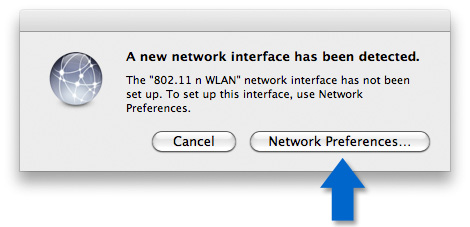
You will see the following message after your Mac restarts. Click Network Preferences.
Step 4: Click “Apply”
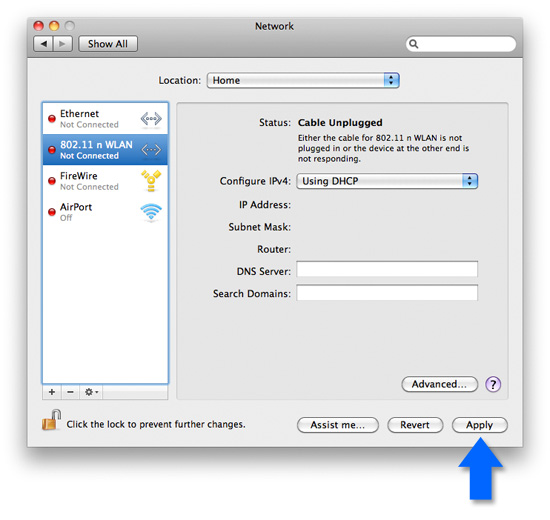
802.11n WLAN appears in the side bar. Click Apply.
Step 5: Turn Off AirPort
If your Mac has a built-in Apple AirPort card, please turn it off while using BearExtender.

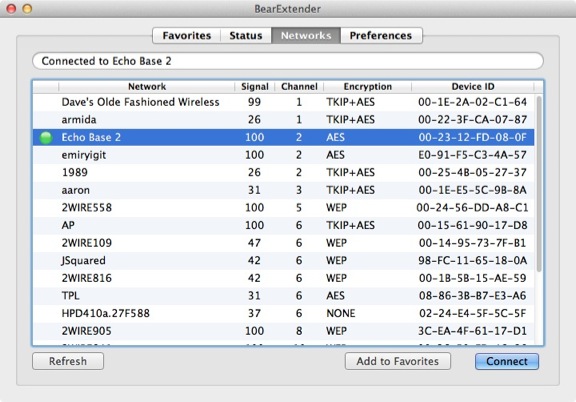
Step 6: Join a network from the BearExtender window
Select your network from the list and click Connect.
Once you are connected, you can close or minimize this window.
Use this window to scan and connect to networks in place of the AirPort menu.
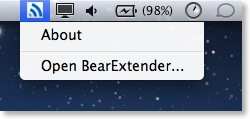
To access the BearExtender window again, click the icon in the menubar.
Congratulations!
BearExtender is now ready for use.
If you need help, please view the Troubleshooting page or contact us.
Next Steps
Learn how to create a Favorite Network >>